
A few years back, we made Evelyn a dollhouse bookcase. I wanted to use it as a bookcase, but she had other ideas. It has been used exclusively for Barbies ever since it made it into her room in the fall.

(In the nearly three years since I took this picture, she has accumulated quite a lot of Stuff for this dollhouse. I will have to show off more of her decorations later–this is just about the bed.)
It has been a real mess mostly since, but she’s enjoyed it and I love it that we made it for her. A few months after the dollhouse made its way to her bedroom, I decided that poor Barbie needed a place to sleep. She had had some Megablocks-covered-with-a-washcloth beds since shortly after the above photo was taken in October, but it was ugly and it kept falling apart. And besides, how uncomfortable would that be! Evelyn loves projects, so I thought this would be a good way to entertain ourselves on a fine spring Friday morning. For the record, it was, at first, but then she got bored before I finished the parts she couldn’t help with. Win some, lose some. She was just three.
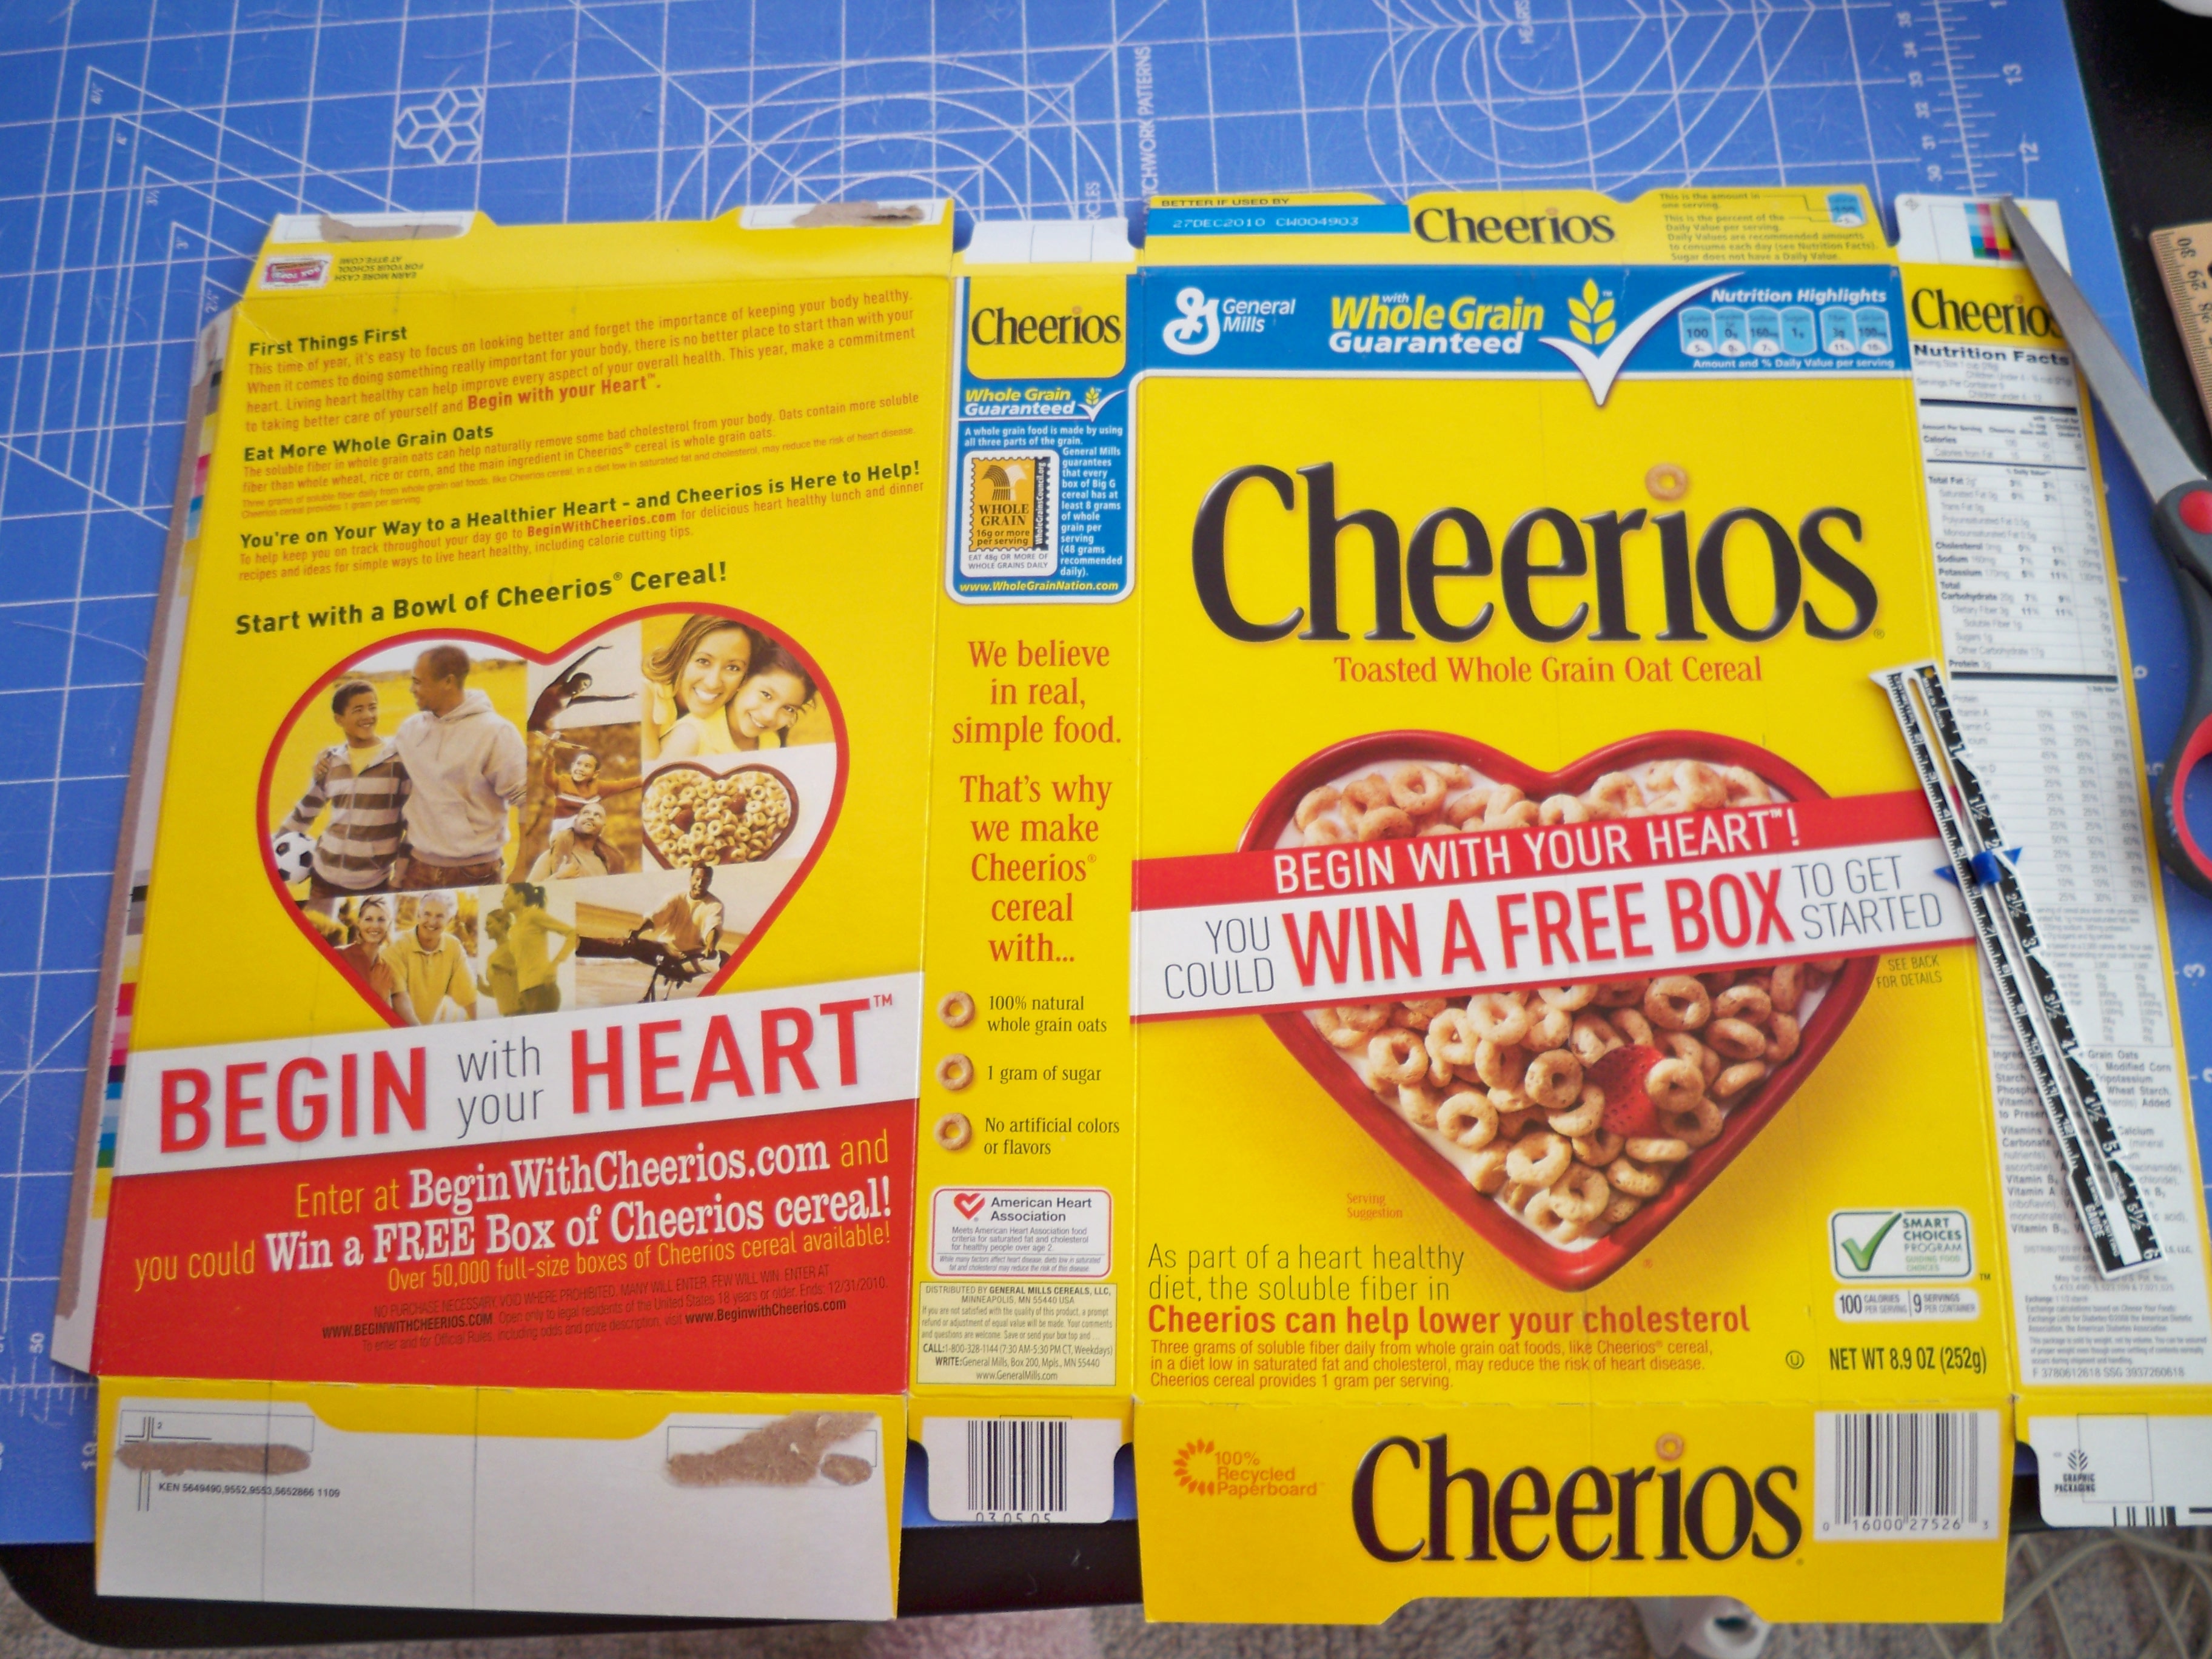
First, you start with a box. I used a Cheerios box, unfolded. I thought that the side of the box would be a good height for the bed, and four inches would be a good width. I determined this very scientifically, by grabbing a Barbie out of the basket and laying her down on the box. Measure four inches (or the width of your desired bed) on one side of the box and draw a line–let’s call it line A. Do the same thing on the other side (line B). Measure the width of your side panel–in my case, two inches. Measure that distance from the lines you just drew and draw two more lines–let’s call them lines C and D.
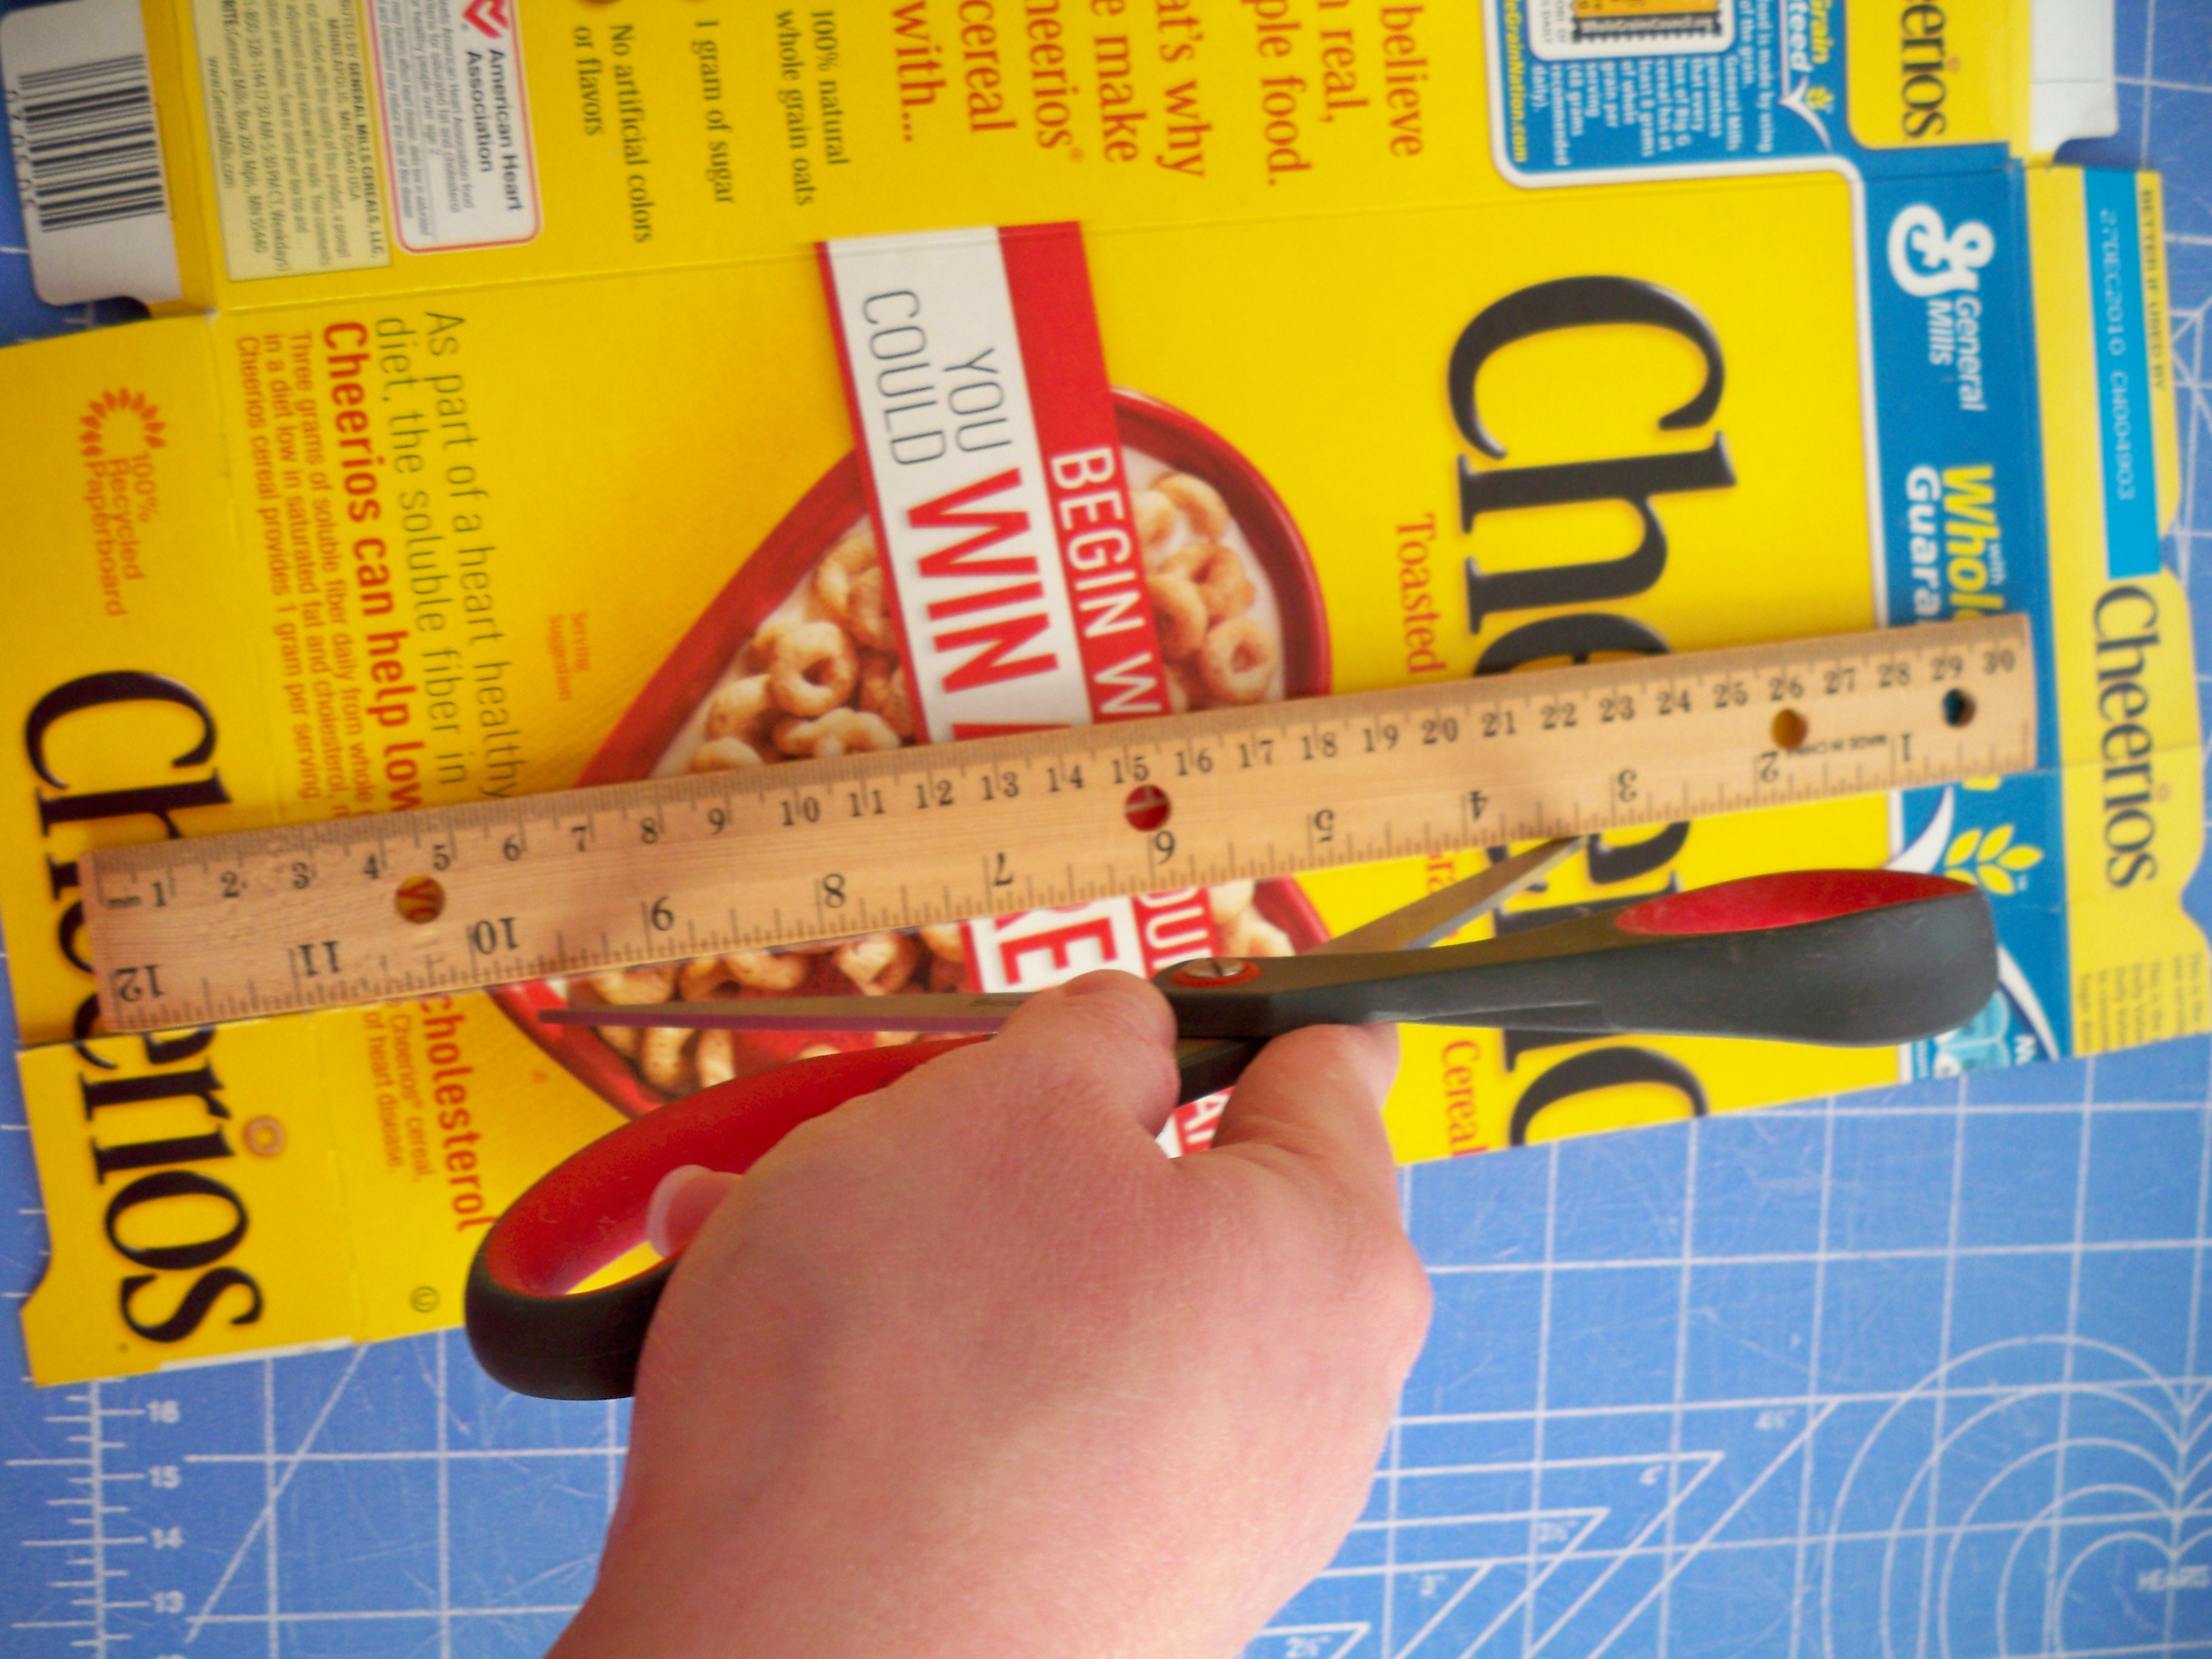
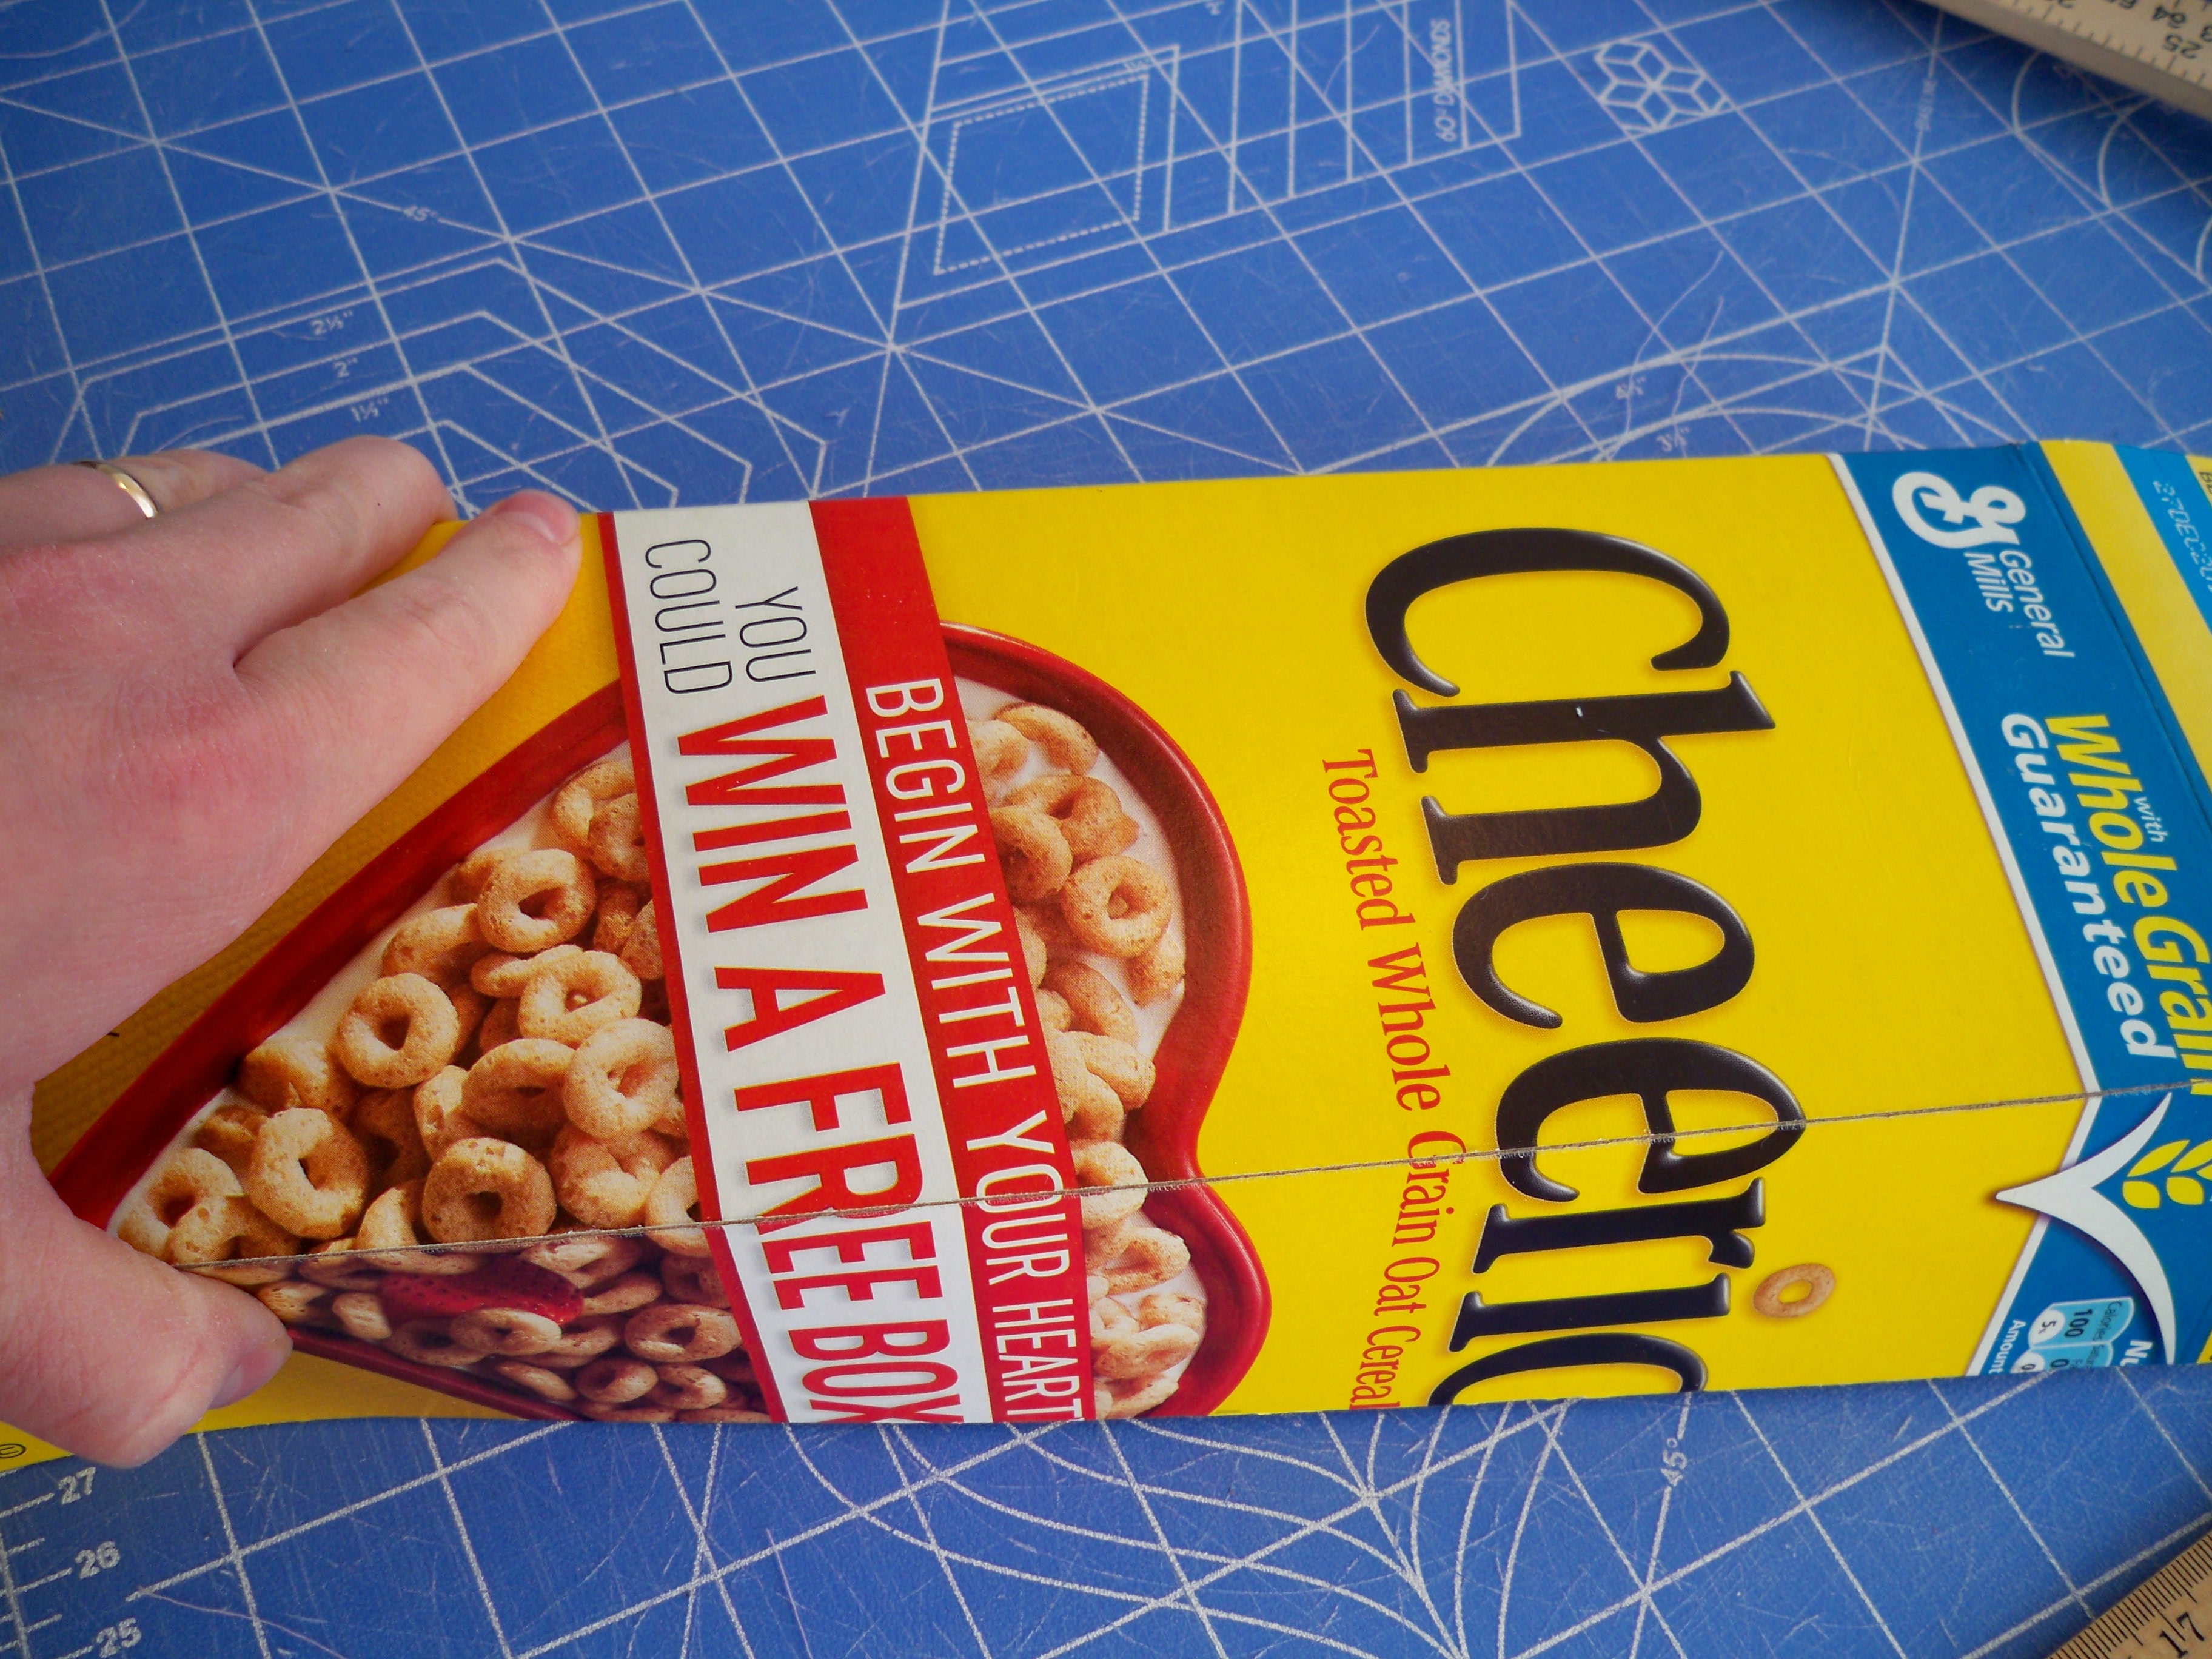
Cut the box on lines C and D. You should still have two lines, two inches inside the box. Lay a long ruler down firmly on line A and use the tip of your scissors to score along it. You don’t want to cut all the way through it, just make it bend nicely in that spot. Do the same thing to line B.
You should now be able to fold your box up into a smaller box. If you measured and scored correctly, it will fit together perfectly, as so.
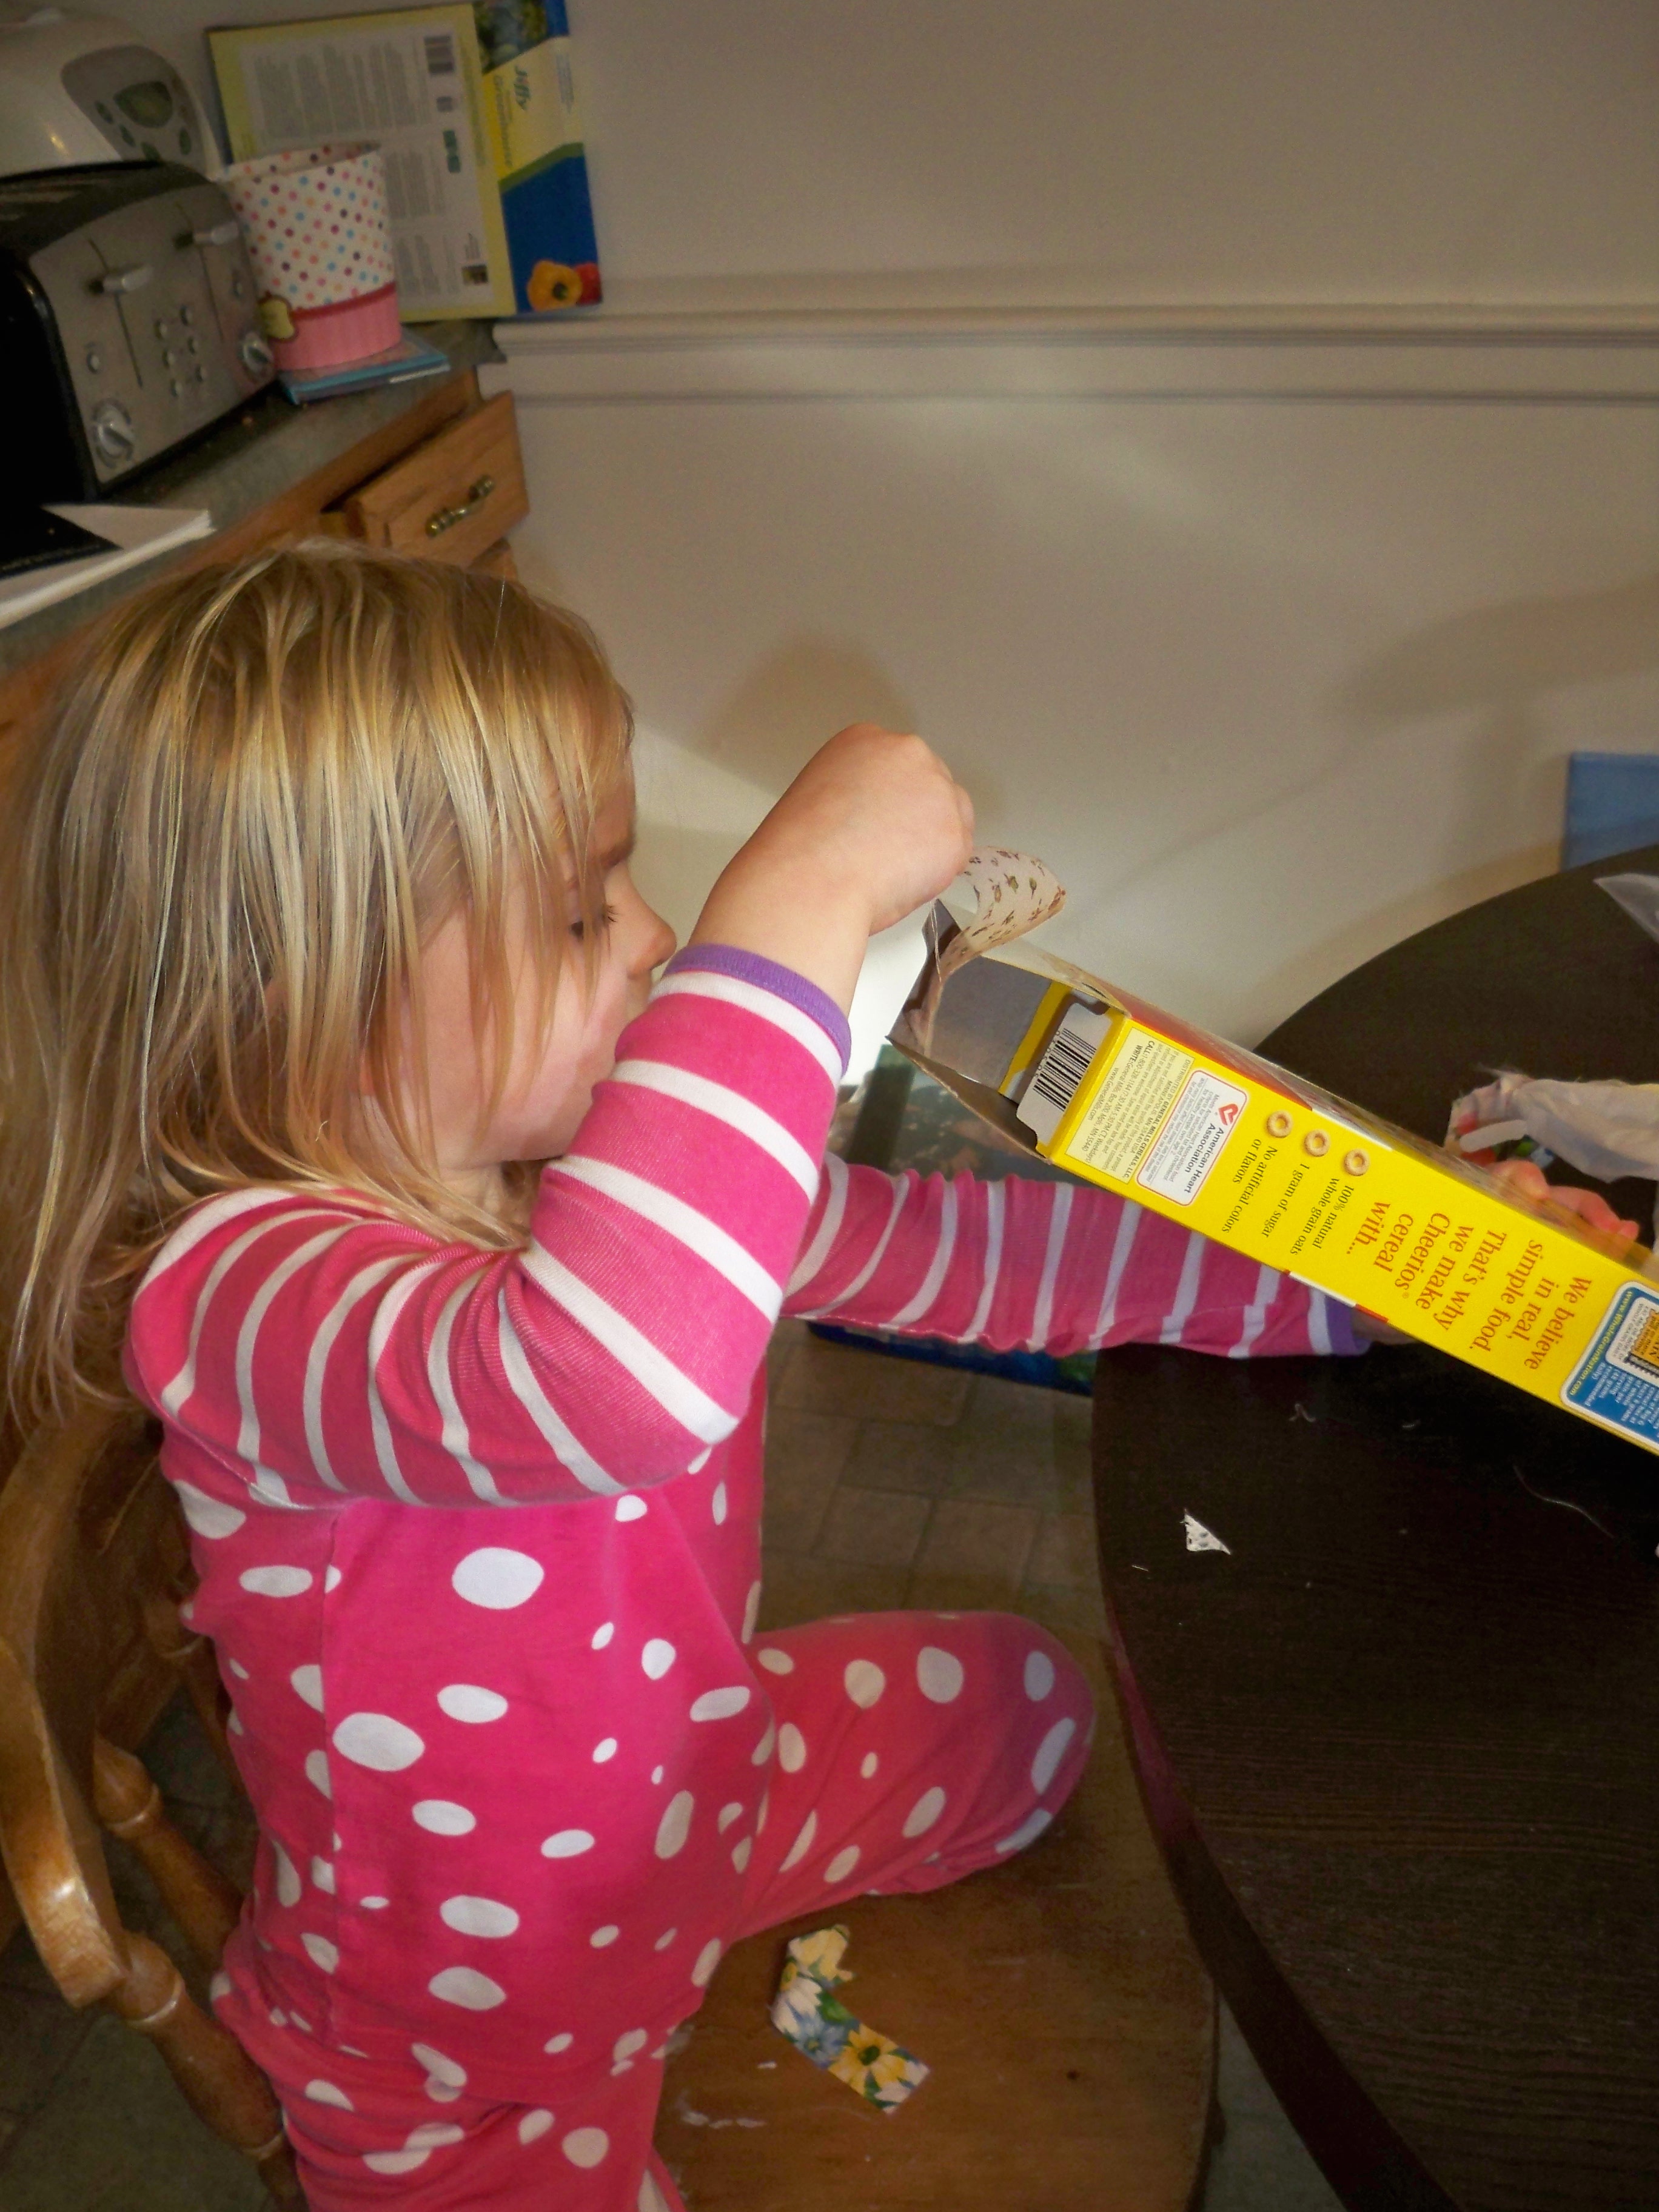
Use hot glue to glue the box together. If I’d had any masking tape handy, I’d have taped all around the box for extra strength, but I didn’t really feel like it was worth getting up for. I did know that if I left the box empty, it would be light and flimsy and easily destroyed, so it needed to be filled up. What better to fill it with than some of the contents of my fabric scrap trash? Little odds and ends of various sewing projects. This is the part that Evie got to help with (still in her pajamas, of course) and she thought that was pretty fun, but she greatly disagreed about several pieces of scrap fabric that I had placed in the bag. She’s an even worse packrat than I am. The scraps made the box feel solid and even a little soft, like a real mattress.
She also got to pick out fabric from my flannel stash. She decided on a blue for the sheets and a cheerleader print for the blanket. I covered the box with the blue “sheet” using hot glue. This was quick and easy except I did “hem” the sheet using hot glue. I didn’t want raw edges visible anywhere. Evelyn, by the way, had to be convinced that it was okay to glue the sheet down. She wanted to be able to take it off and on, but I finally convinced her that this would just be the bottom sheet covering the mattress so we’d never have to see the Cheerios box. If I’d been choosing fabrics, by the way, I’d have probably chosen something that matched the pink cheerleader fabric a little better but I just do what I’m told. 🙂 Anyway, after the box was covered, I whipped up a little blanket for the bed and a pillow. The blanket is just turned and topstitched, two layers of flannel, with a bit of lace trim added. I even quilted the thing.

The back side of both the blanket and the pillow is the complementary blue print to the bottom sheet, so it’s fully reversible.
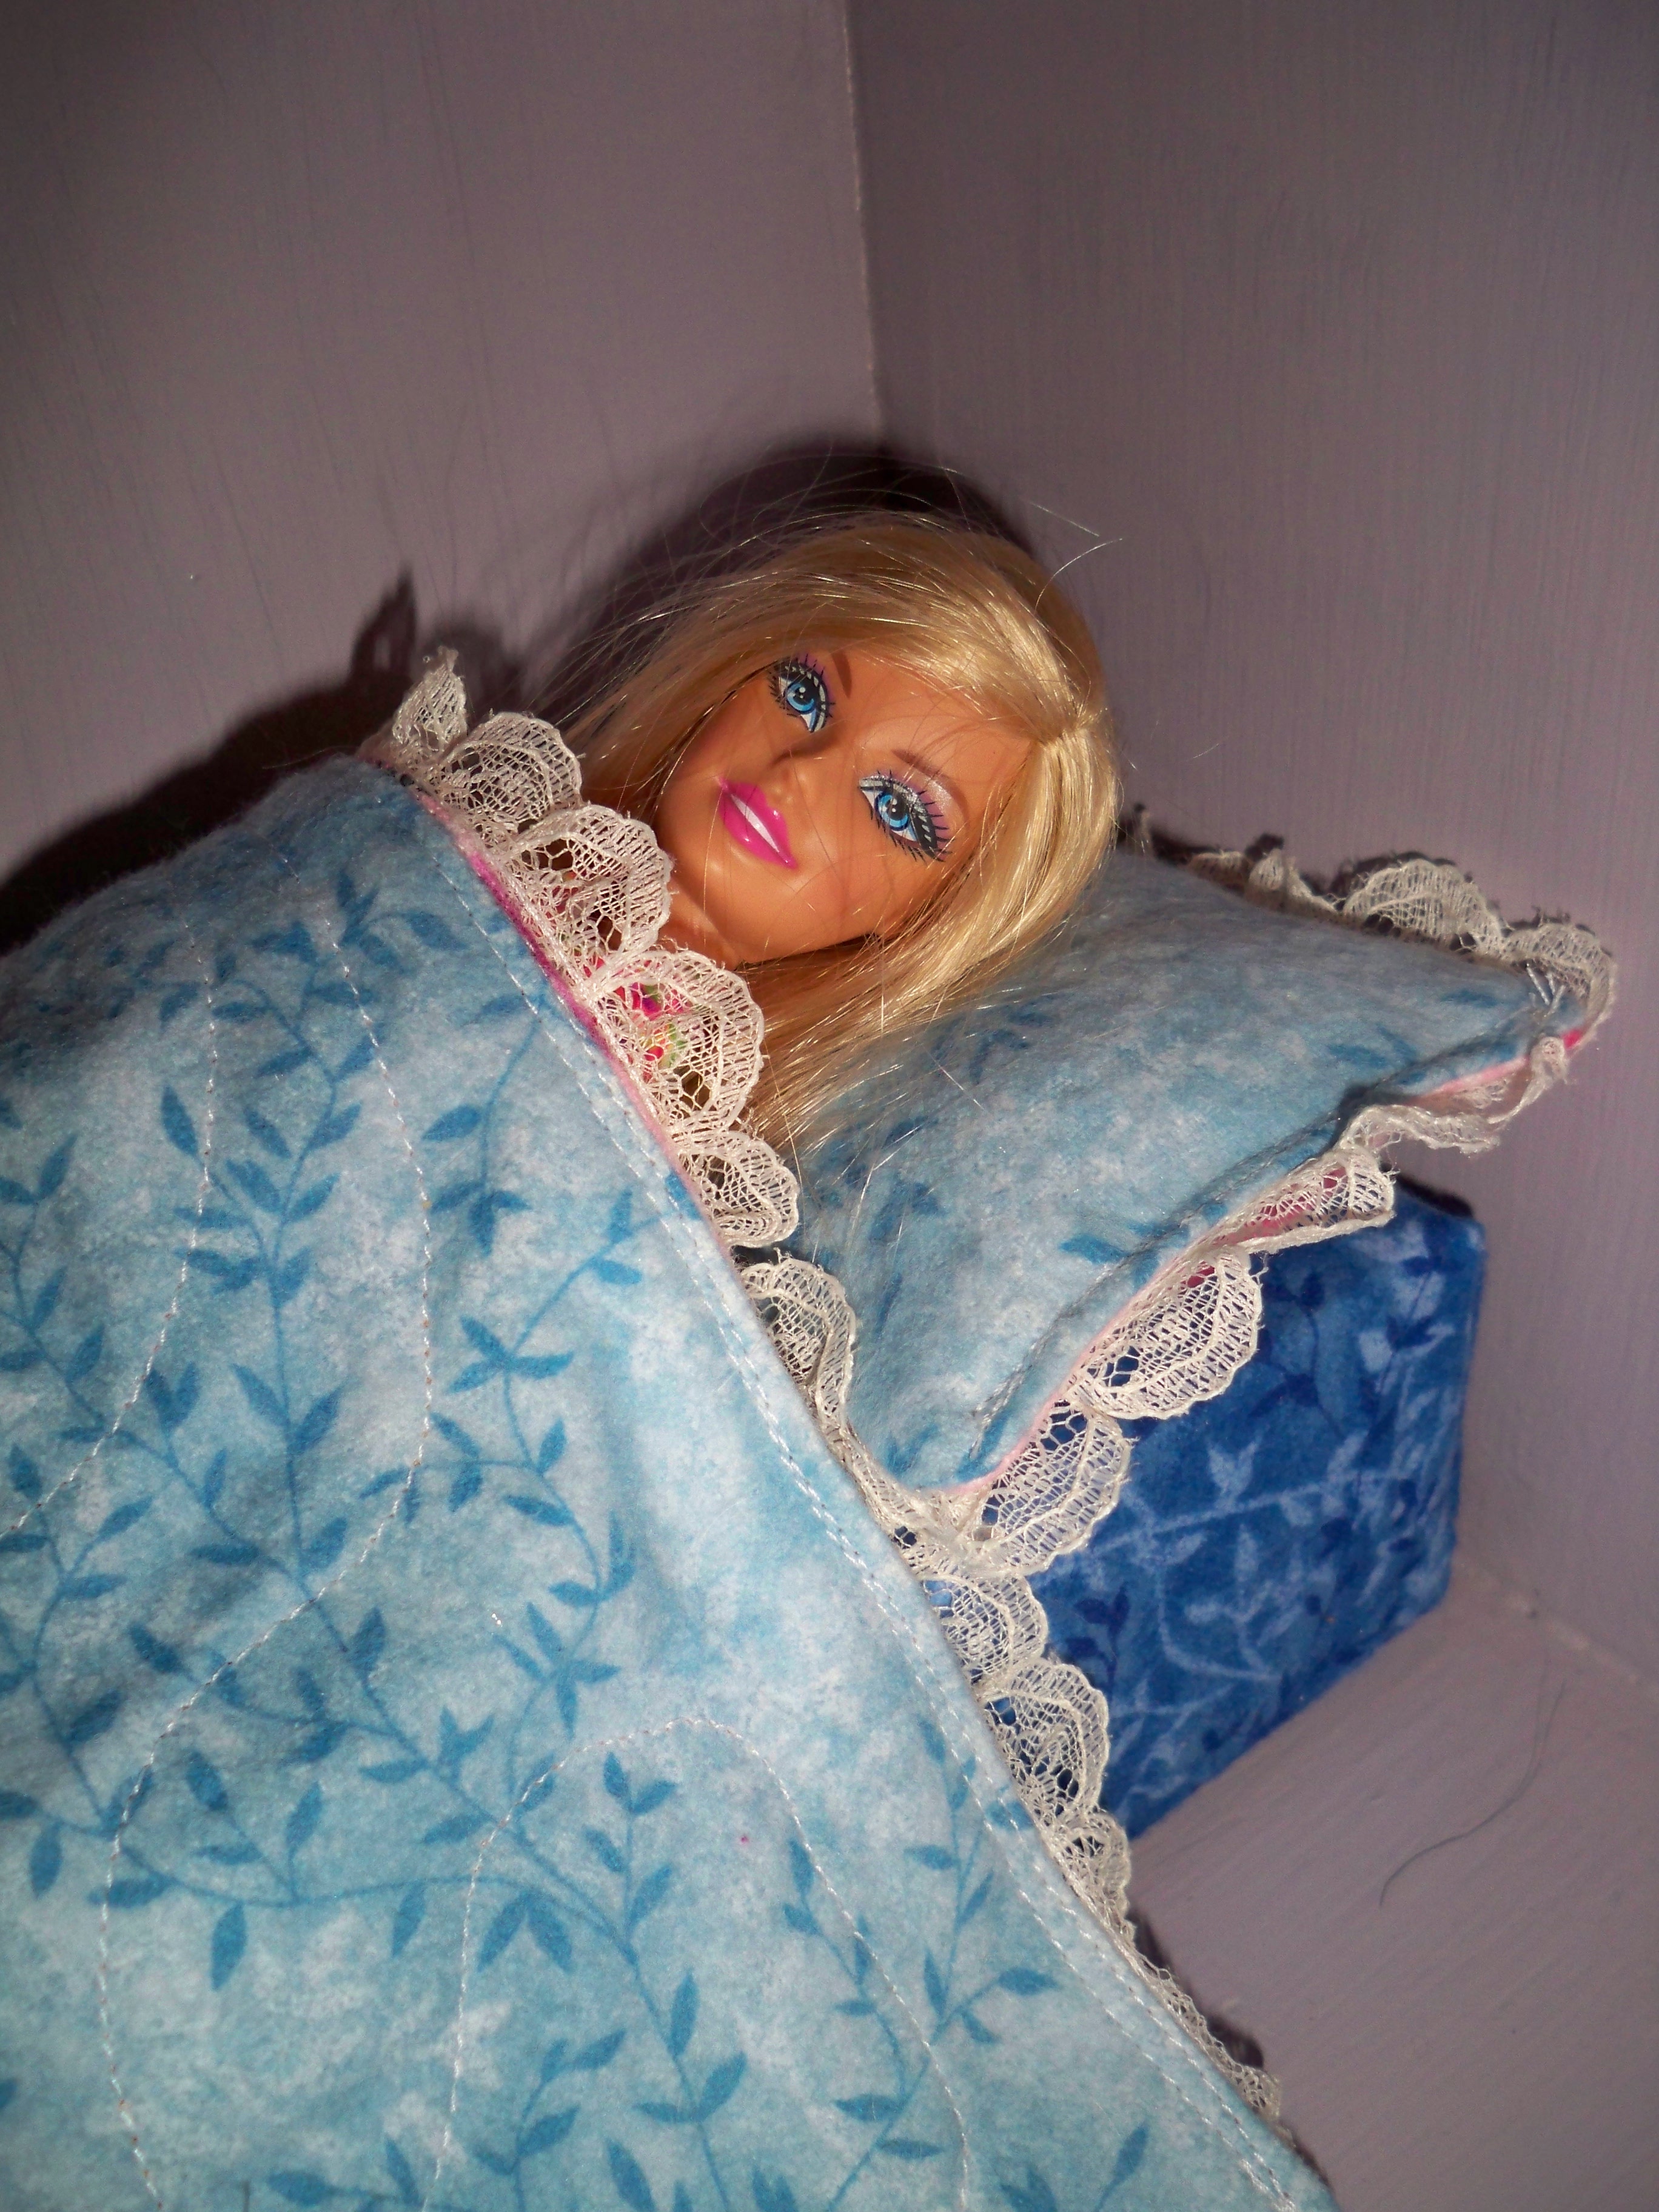
Doesn’t she look nice and cozy? I am really happy with how it turned out. I didn’t spend a dime on this project and it’s pretty cute. It sure looks better than building block furniture, which I’m pretty sure is the doll equivalent of milk crate furniture. 😉 Of course, she’s currently sleeping on a cardboard box so I guess that’s not really much better? 😉